
Tile Flooring Installation: A Step-by-Step Guide for Los Angeles Homes


Preparing for Tile Flooring Installation
Tile flooring is a popular choice for Los Angeles homes due to its durability, ease of maintenance, and aesthetic appeal. Before you begin your tile flooring installation, it’s crucial to prepare adequately. Start by measuring the area where you plan to install the tiles to determine how much material you'll need. Ensure you purchase an extra 10% of tiles to account for any breakage or mistakes during installation.
Next, gather all necessary tools and materials, including tiles, adhesive, grout, spacers, a notched trowel, level, and a tile cutter. Having everything on hand before you start will make the process smoother and more efficient.
Preparing the Subfloor
A successful tile installation depends significantly on the condition of the subfloor. Begin by cleaning the subfloor thoroughly to remove any dirt, grease, or debris that might prevent proper adhesion. Check for any uneven areas and use a leveling compound to smooth out the surface. It's important that the surface is flat as tiles will not adhere properly to uneven or unclean surfaces.
If you're installing over concrete, ensure it's dry and free from cracks. For wooden subfloors, consider installing a cement backer board to provide a stable base for the tiles. This step is crucial in preventing tiles from shifting or cracking over time.
Laying Out the Tiles
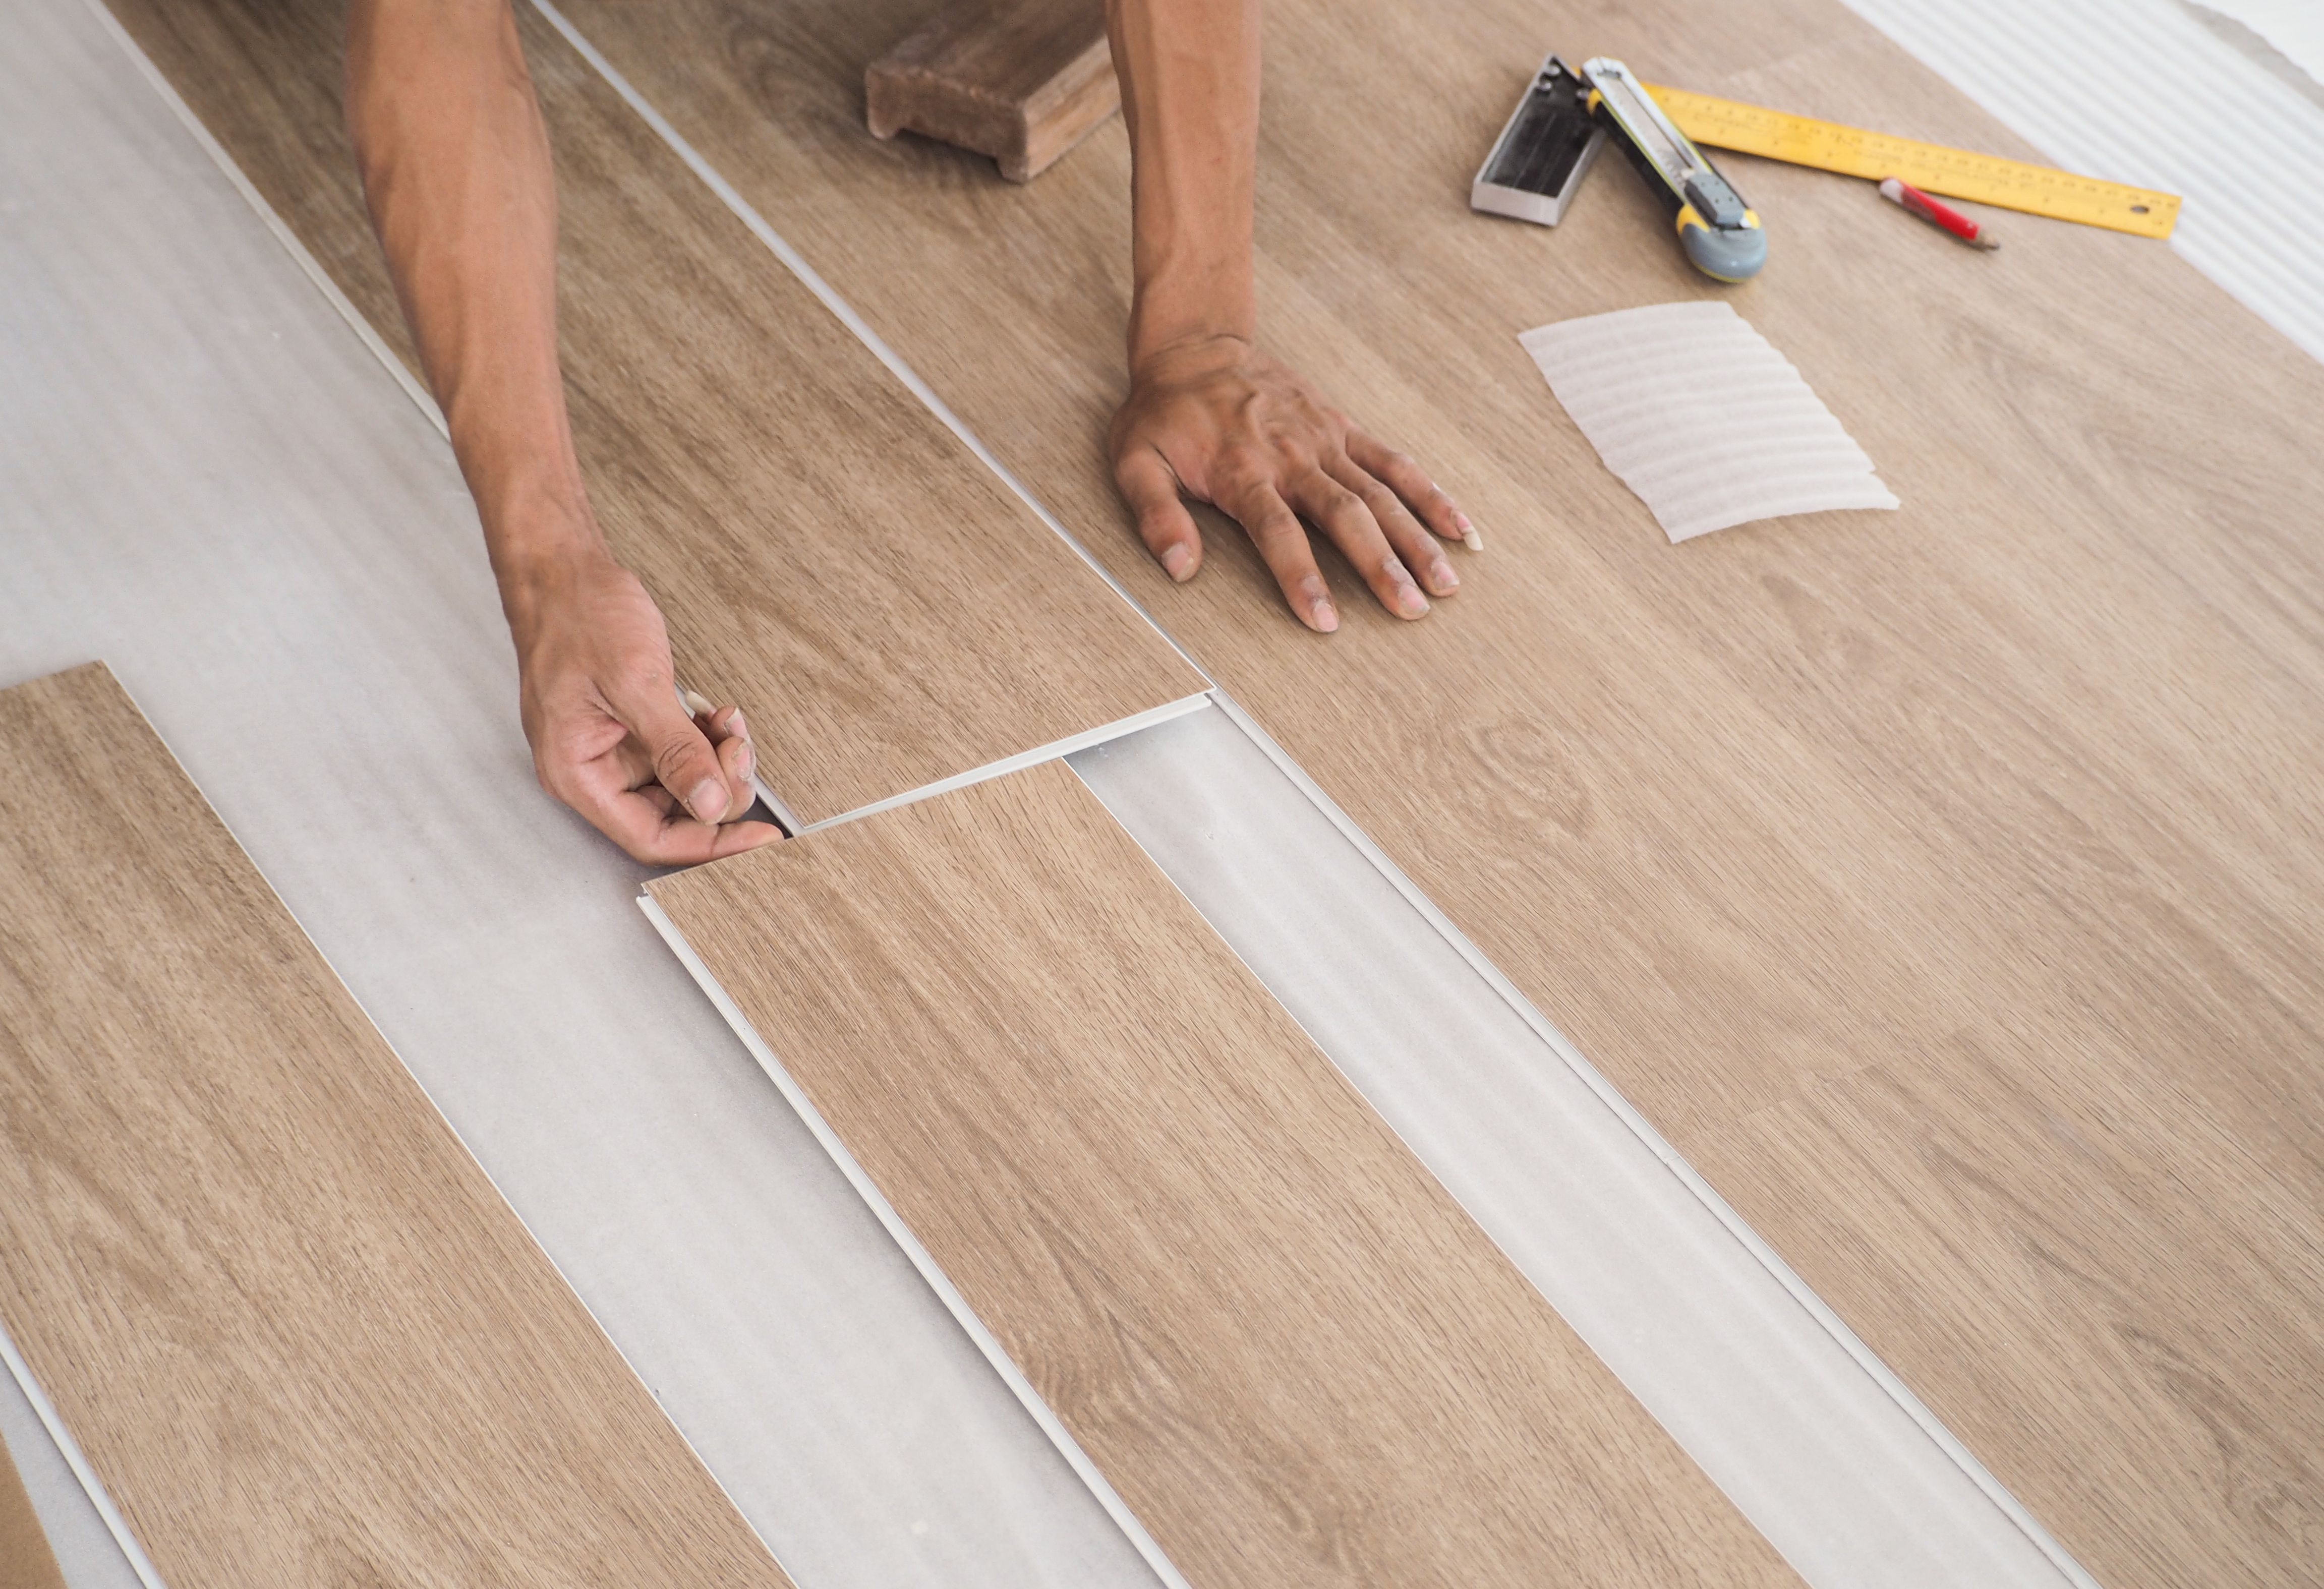
Before applying adhesive, lay out your tiles to determine the best pattern and fit. This step helps you visualize the final look and make necessary adjustments to minimize cutting and awkward fits. Use chalk lines as guides to ensure your tiles are aligned correctly.
For a professional finish, start laying tiles from the center of the room and work your way outward. This approach ensures that any cut tiles are placed at the edges where they are less noticeable.
Applying Adhesive and Setting Tiles
With the layout confirmed, mix your tile adhesive according to the manufacturer's instructions. Using a notched trowel, spread a thin layer of adhesive on a small section of the subfloor. Press each tile firmly into place, using spacers to maintain consistent gaps for grout lines.
As you work, periodically check that each tile is level with its neighbors. Adjust as necessary before the adhesive sets to ensure a smooth, even surface across your floor.
Grouting the Tiles
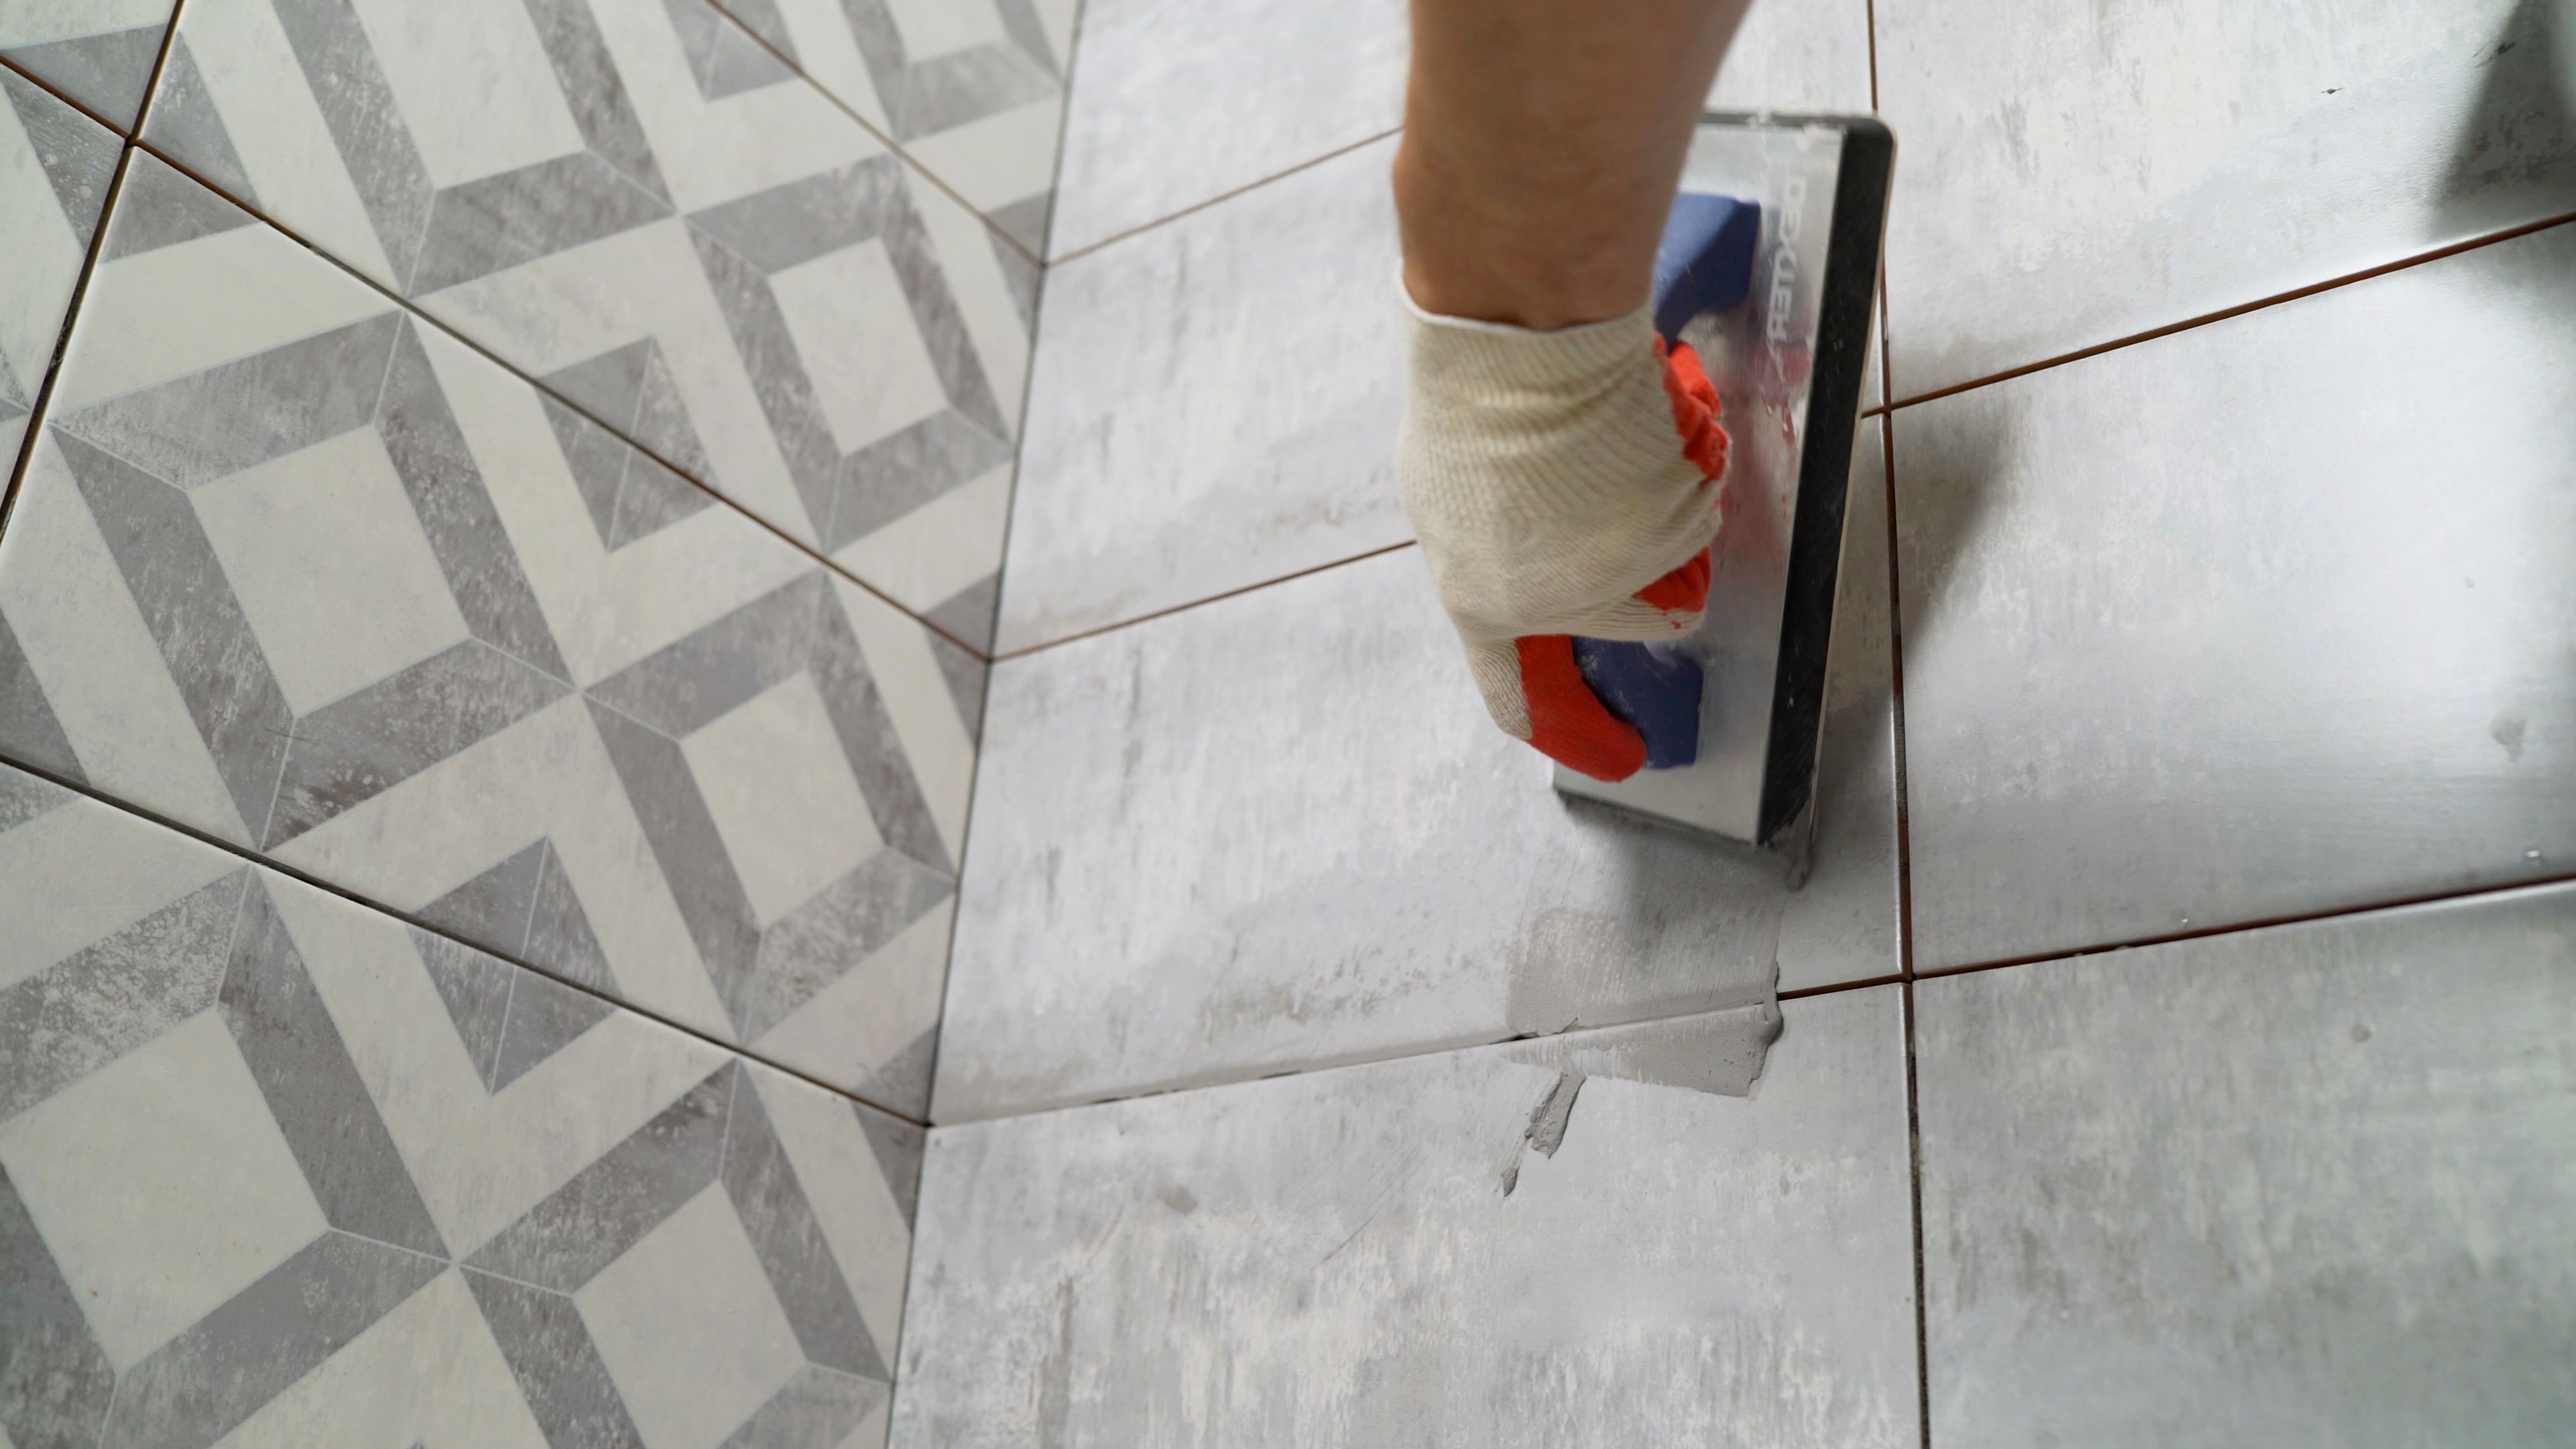
Once all tiles are set and the adhesive has cured (usually 24 hours), it's time to apply grout. Remove spacers and mix your grout according to instructions. Use a rubber float to press grout into the spaces between tiles, working diagonally across the joints to ensure even coverage.
After filling all joints, wipe away excess grout with a damp sponge before it dries. Be careful not to disturb the grout lines during this process. Allow the grout to cure completely before proceeding with any additional steps.
Final Steps and Maintenance
After the grout has cured, apply a sealer if recommended by the manufacturer to protect it from stains and moisture. This step is especially important in areas prone to spills or high humidity.
To maintain your new tile floor, sweep or vacuum regularly to remove dirt and debris. Use a damp mop with a mild detergent for deeper cleaning, avoiding harsh chemicals that can damage grout or tiles. With proper care, your tile flooring will remain beautiful and functional for many years.