Step-by-Step Laminate Flooring Installation: Transforming Your Los Angeles Space


Why Choose Laminate Flooring?
Laminate flooring has become an increasingly popular choice for homeowners in Los Angeles due to its durability, cost-effectiveness, and attractive appearance. It mimics the look of natural wood or stone at a fraction of the cost, making it an ideal option for those looking to upgrade their space on a budget. Additionally, laminate flooring is easier to maintain and clean compared to traditional hardwood floors.
Preparing Your Space
Before you begin the installation process, it's important to prepare your space carefully. Start by removing all furniture and clearing the area where the laminate flooring will be installed. Ensure the subfloor is clean, dry, and level. Any imperfections can lead to issues with the flooring later on. Measure the room accurately to determine how much laminate you'll need, adding about 10% extra for waste and future repairs.
Gathering Your Tools and Materials
Having the right tools and materials on hand will make the installation process smoother. You will need:
- Laminate flooring planks
- Underlayment
- Measuring tape
- Saw (circular or jigsaw)
- Tapping block
- Pry bar
- Spacers
- Utility knife
Ensure you have safety gear like gloves and goggles to protect yourself during installation.
Step-by-Step Installation Process
Installing the Underlayment
The underlayment acts as a cushion and provides a moisture barrier for your laminate flooring. Roll out the underlayment across the entire floor surface, trimming it to fit the space with a utility knife. Ensure there are no gaps or overlaps, as this can affect the final result.
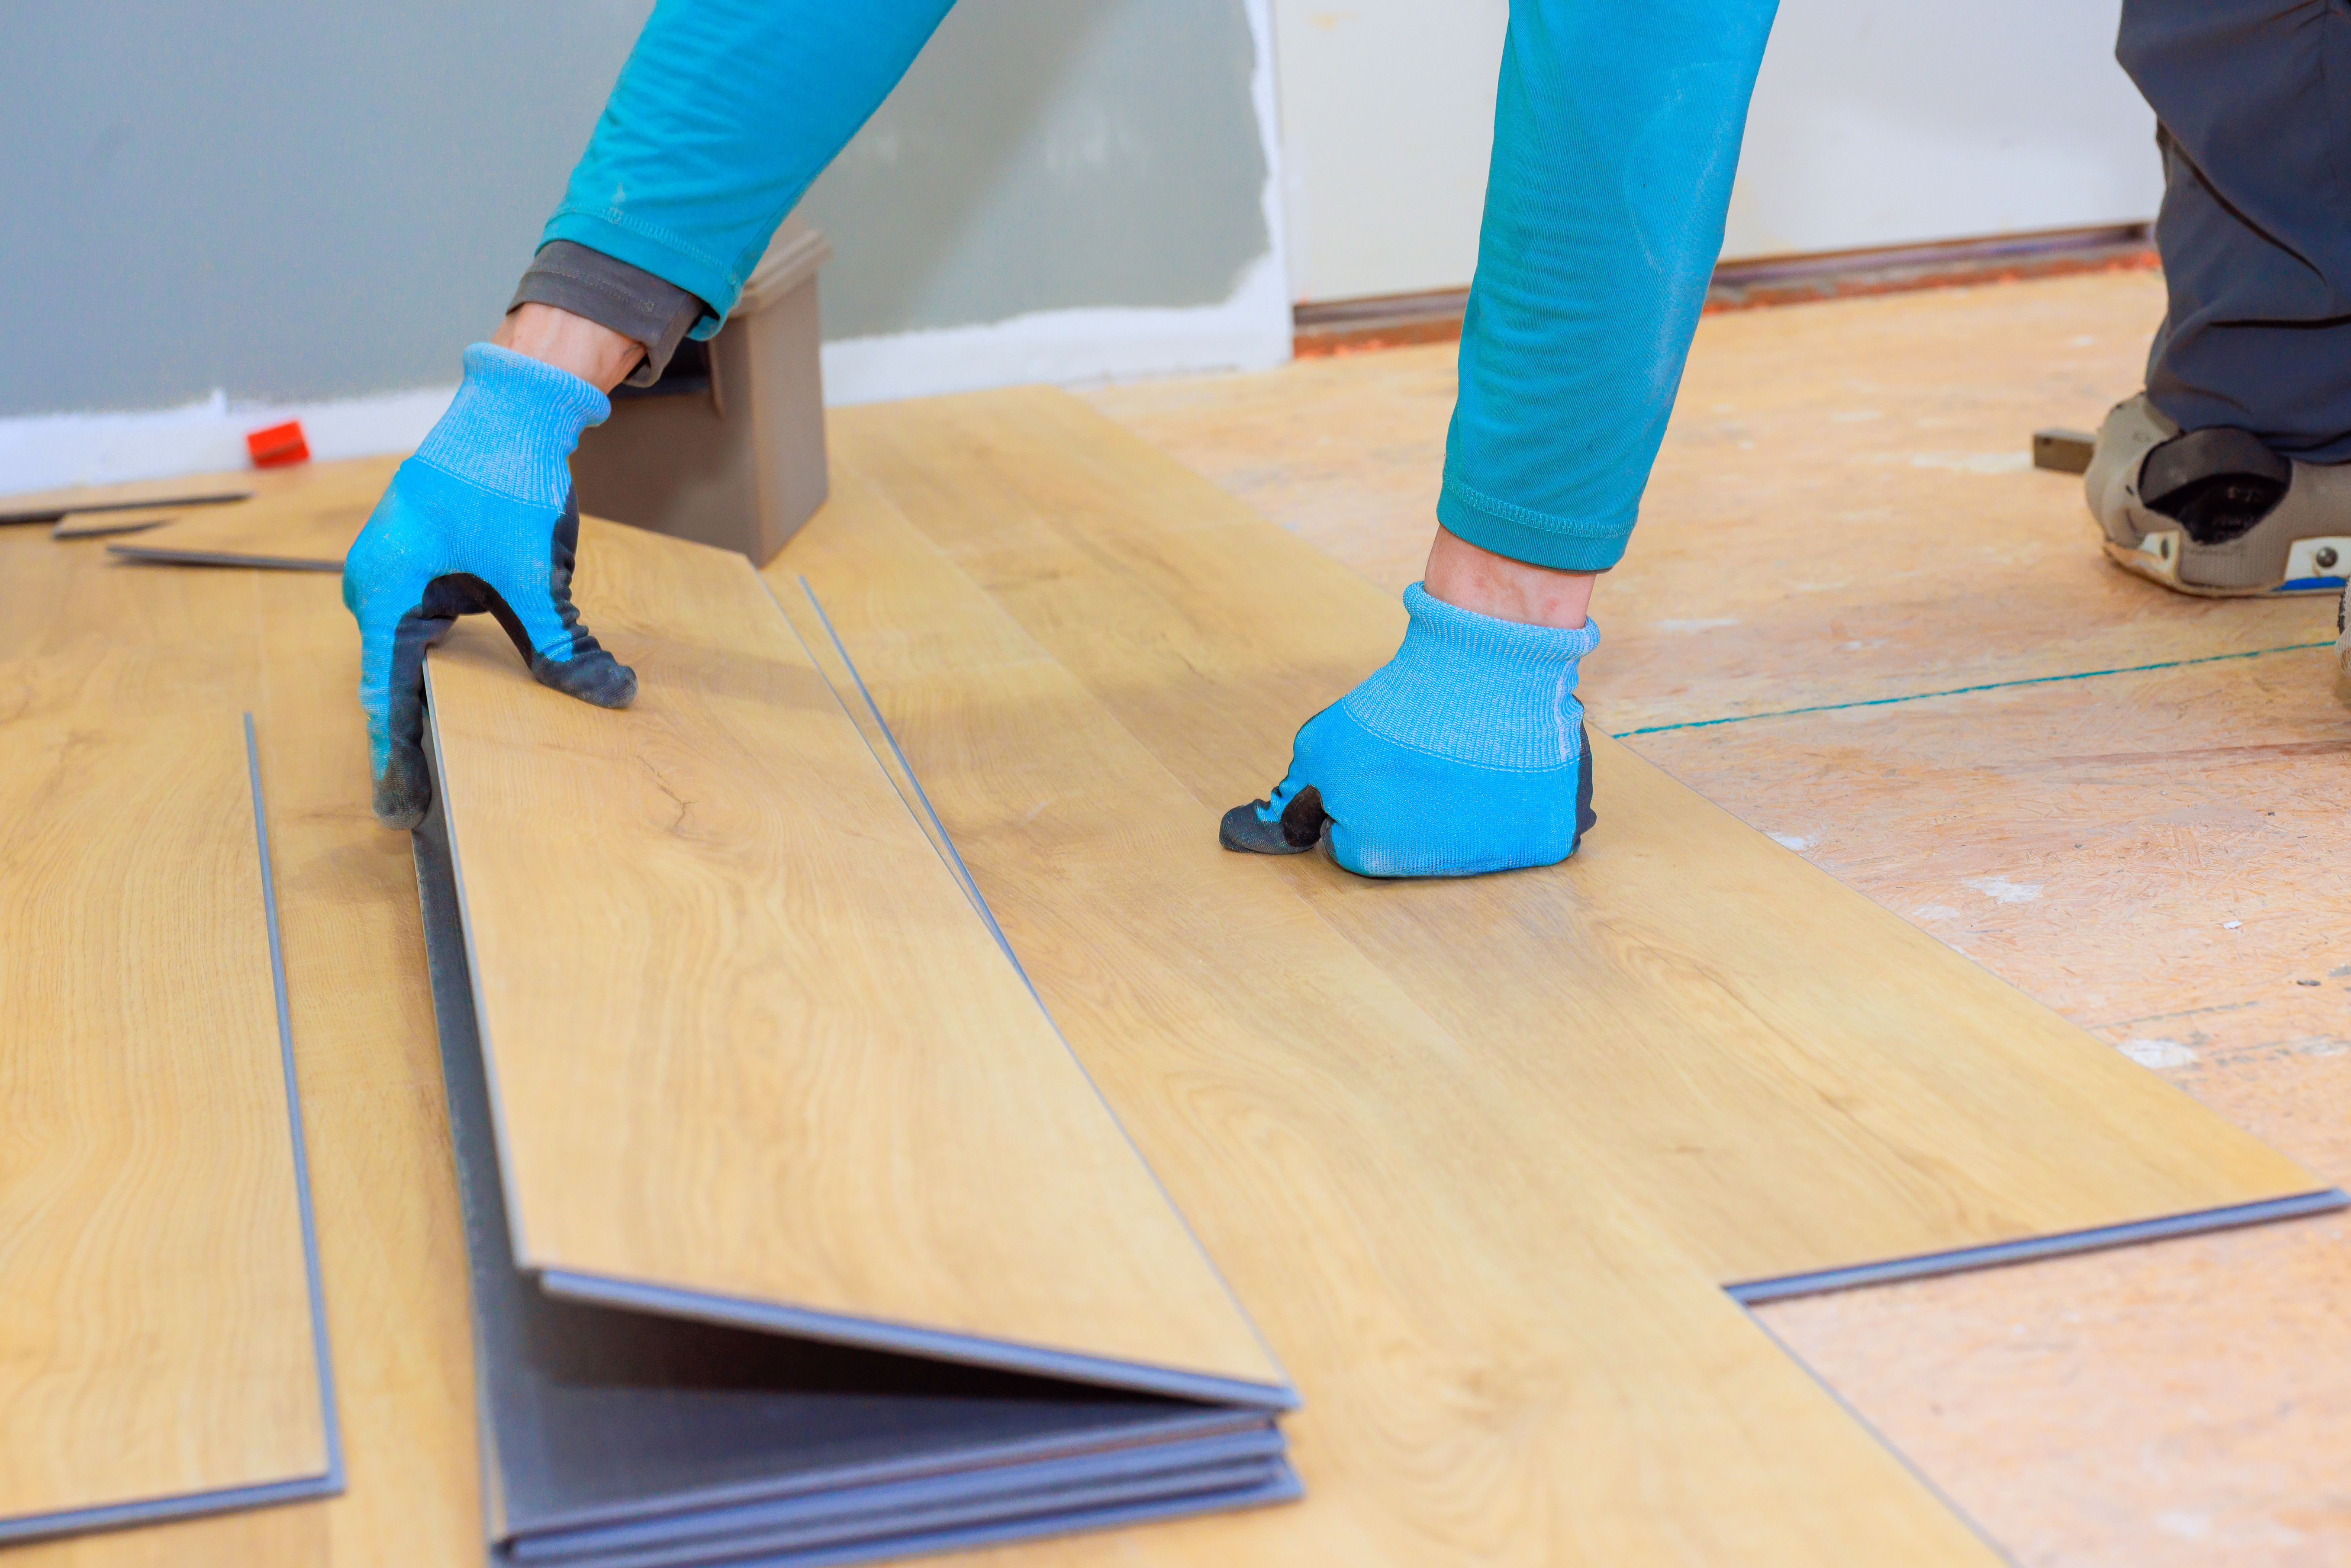
Laying Down the Flooring
Start laying down the laminate planks from one corner of the room, ensuring the groove side faces the wall. Use spacers to maintain an expansion gap of about 1/4 inch between the planks and walls. This allows for natural expansion and contraction due to temperature changes.
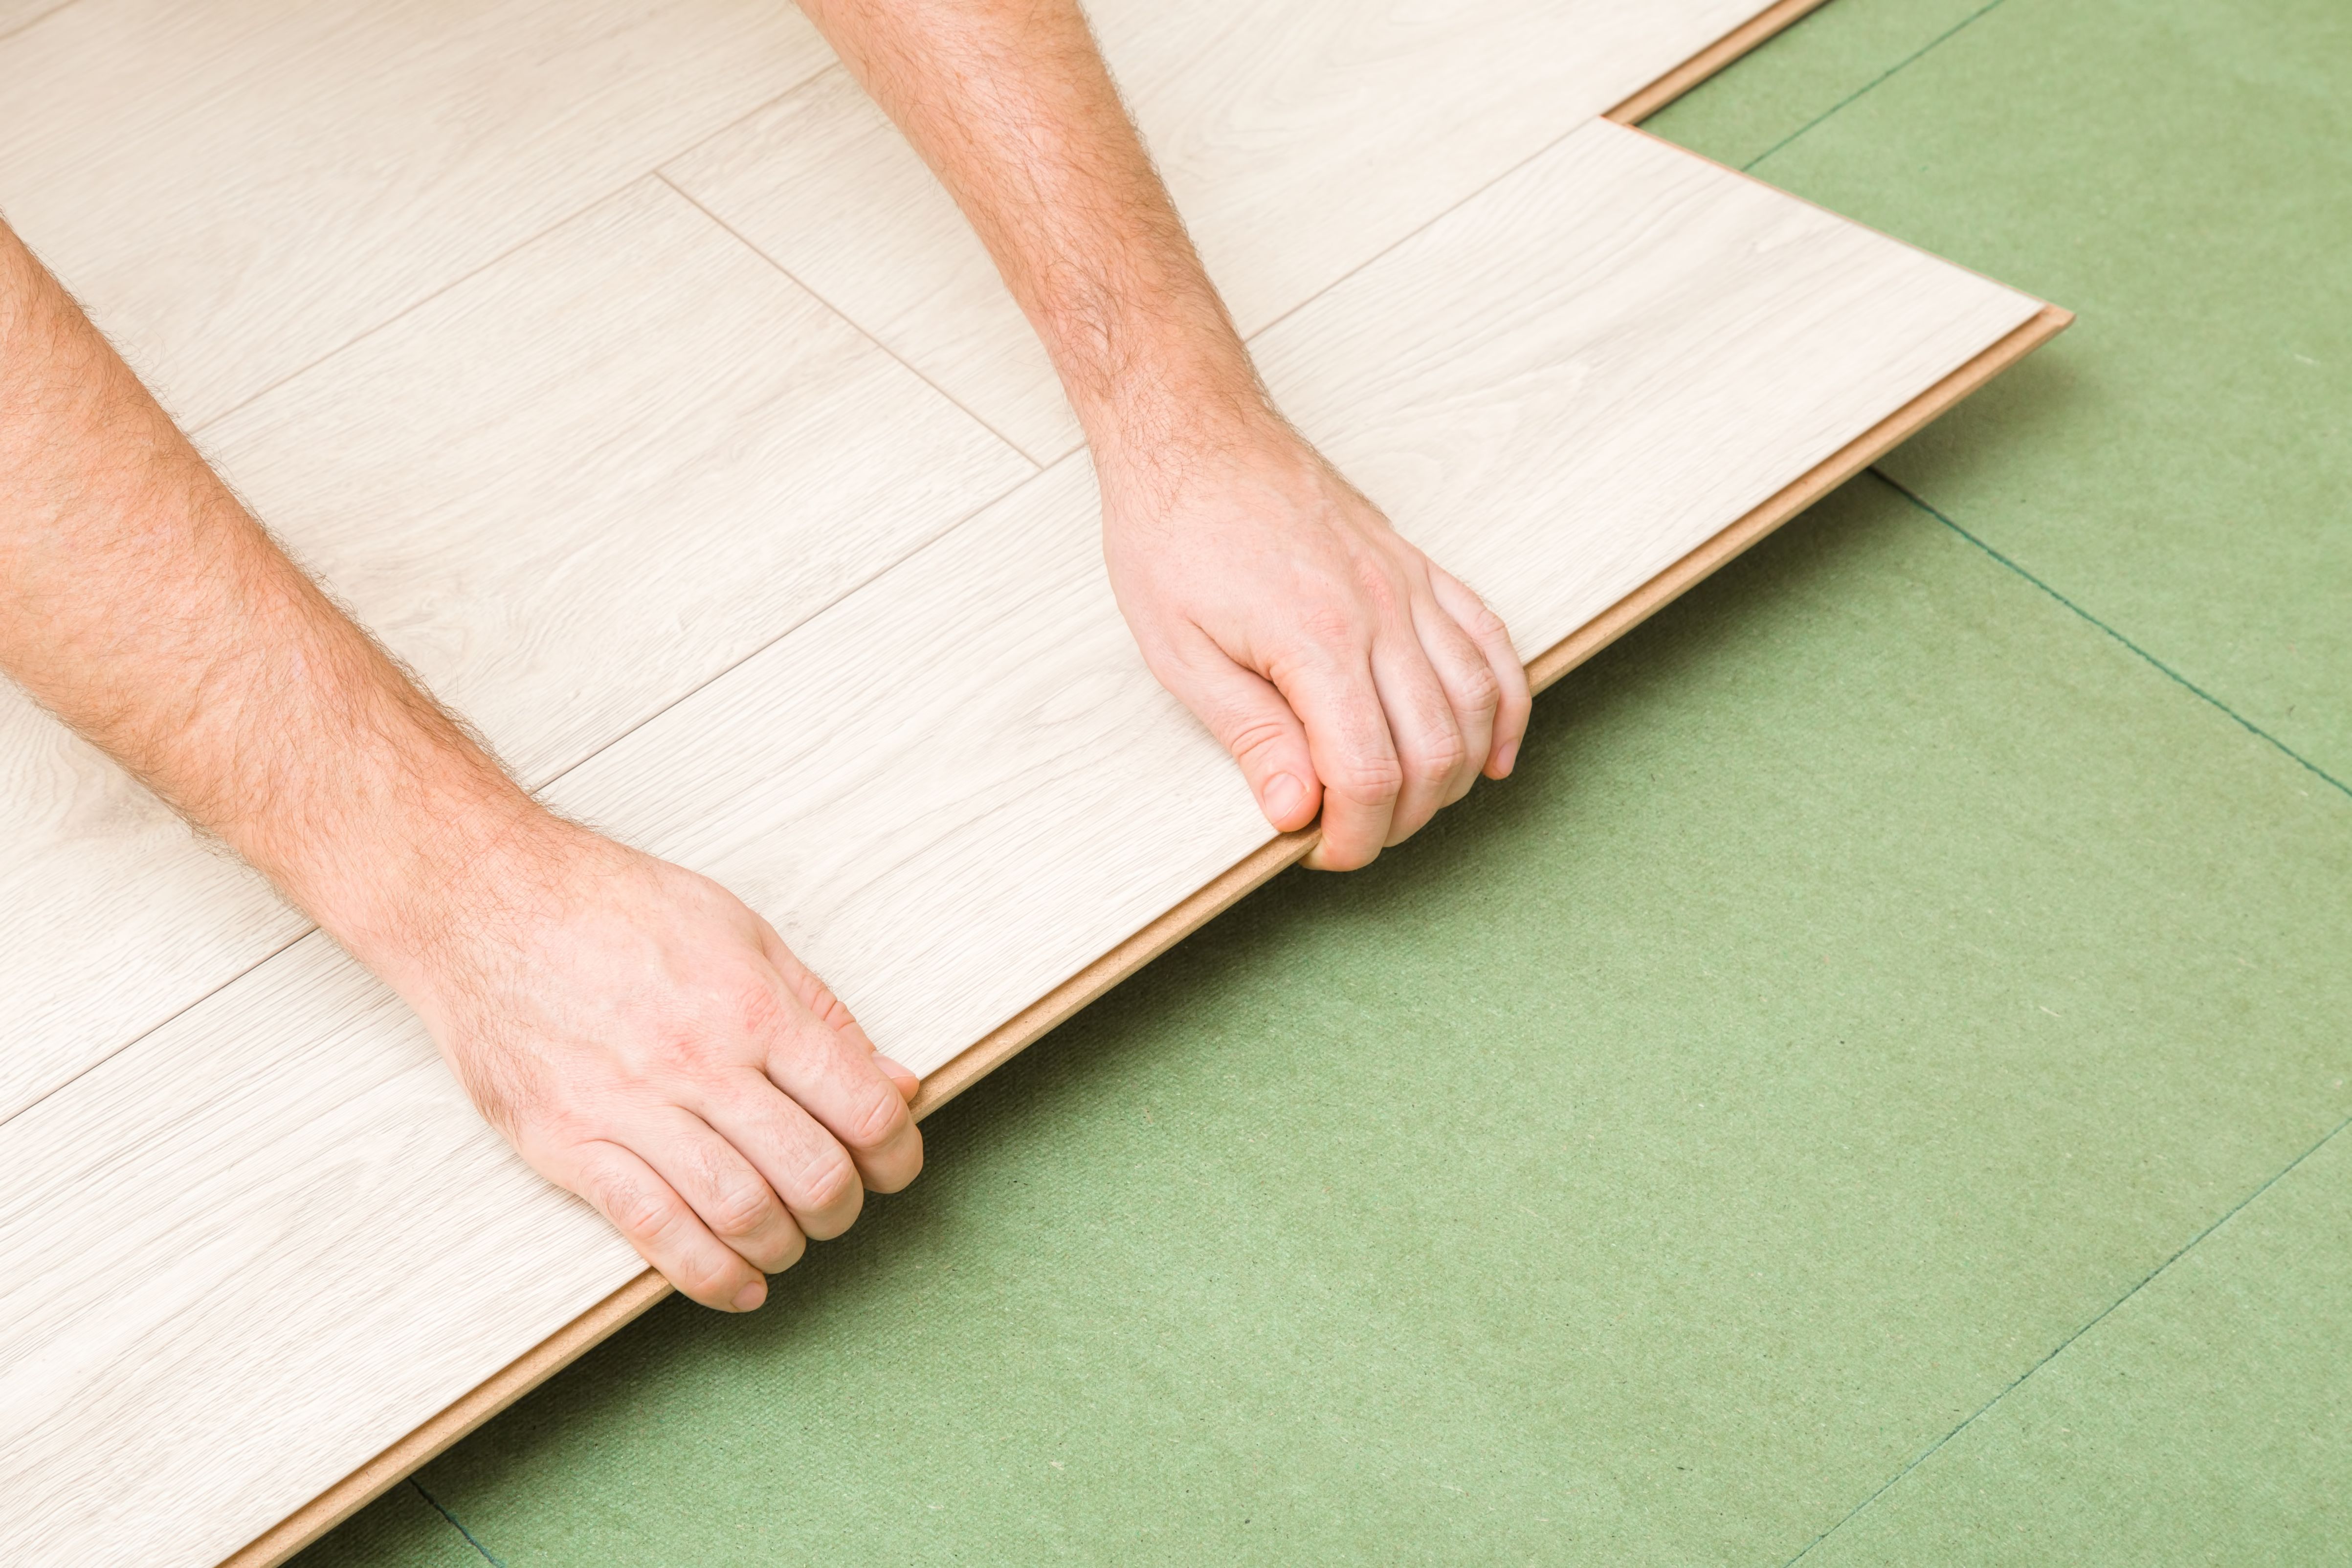
Cutting and Fitting Planks
As you approach walls or obstacles, you may need to cut planks to fit. Measure carefully and use a saw to cut the planks to size. Fit each plank into place by angling it into the previous row and lowering it until it clicks. Use a tapping block and hammer to ensure snug connections without damaging the planks.
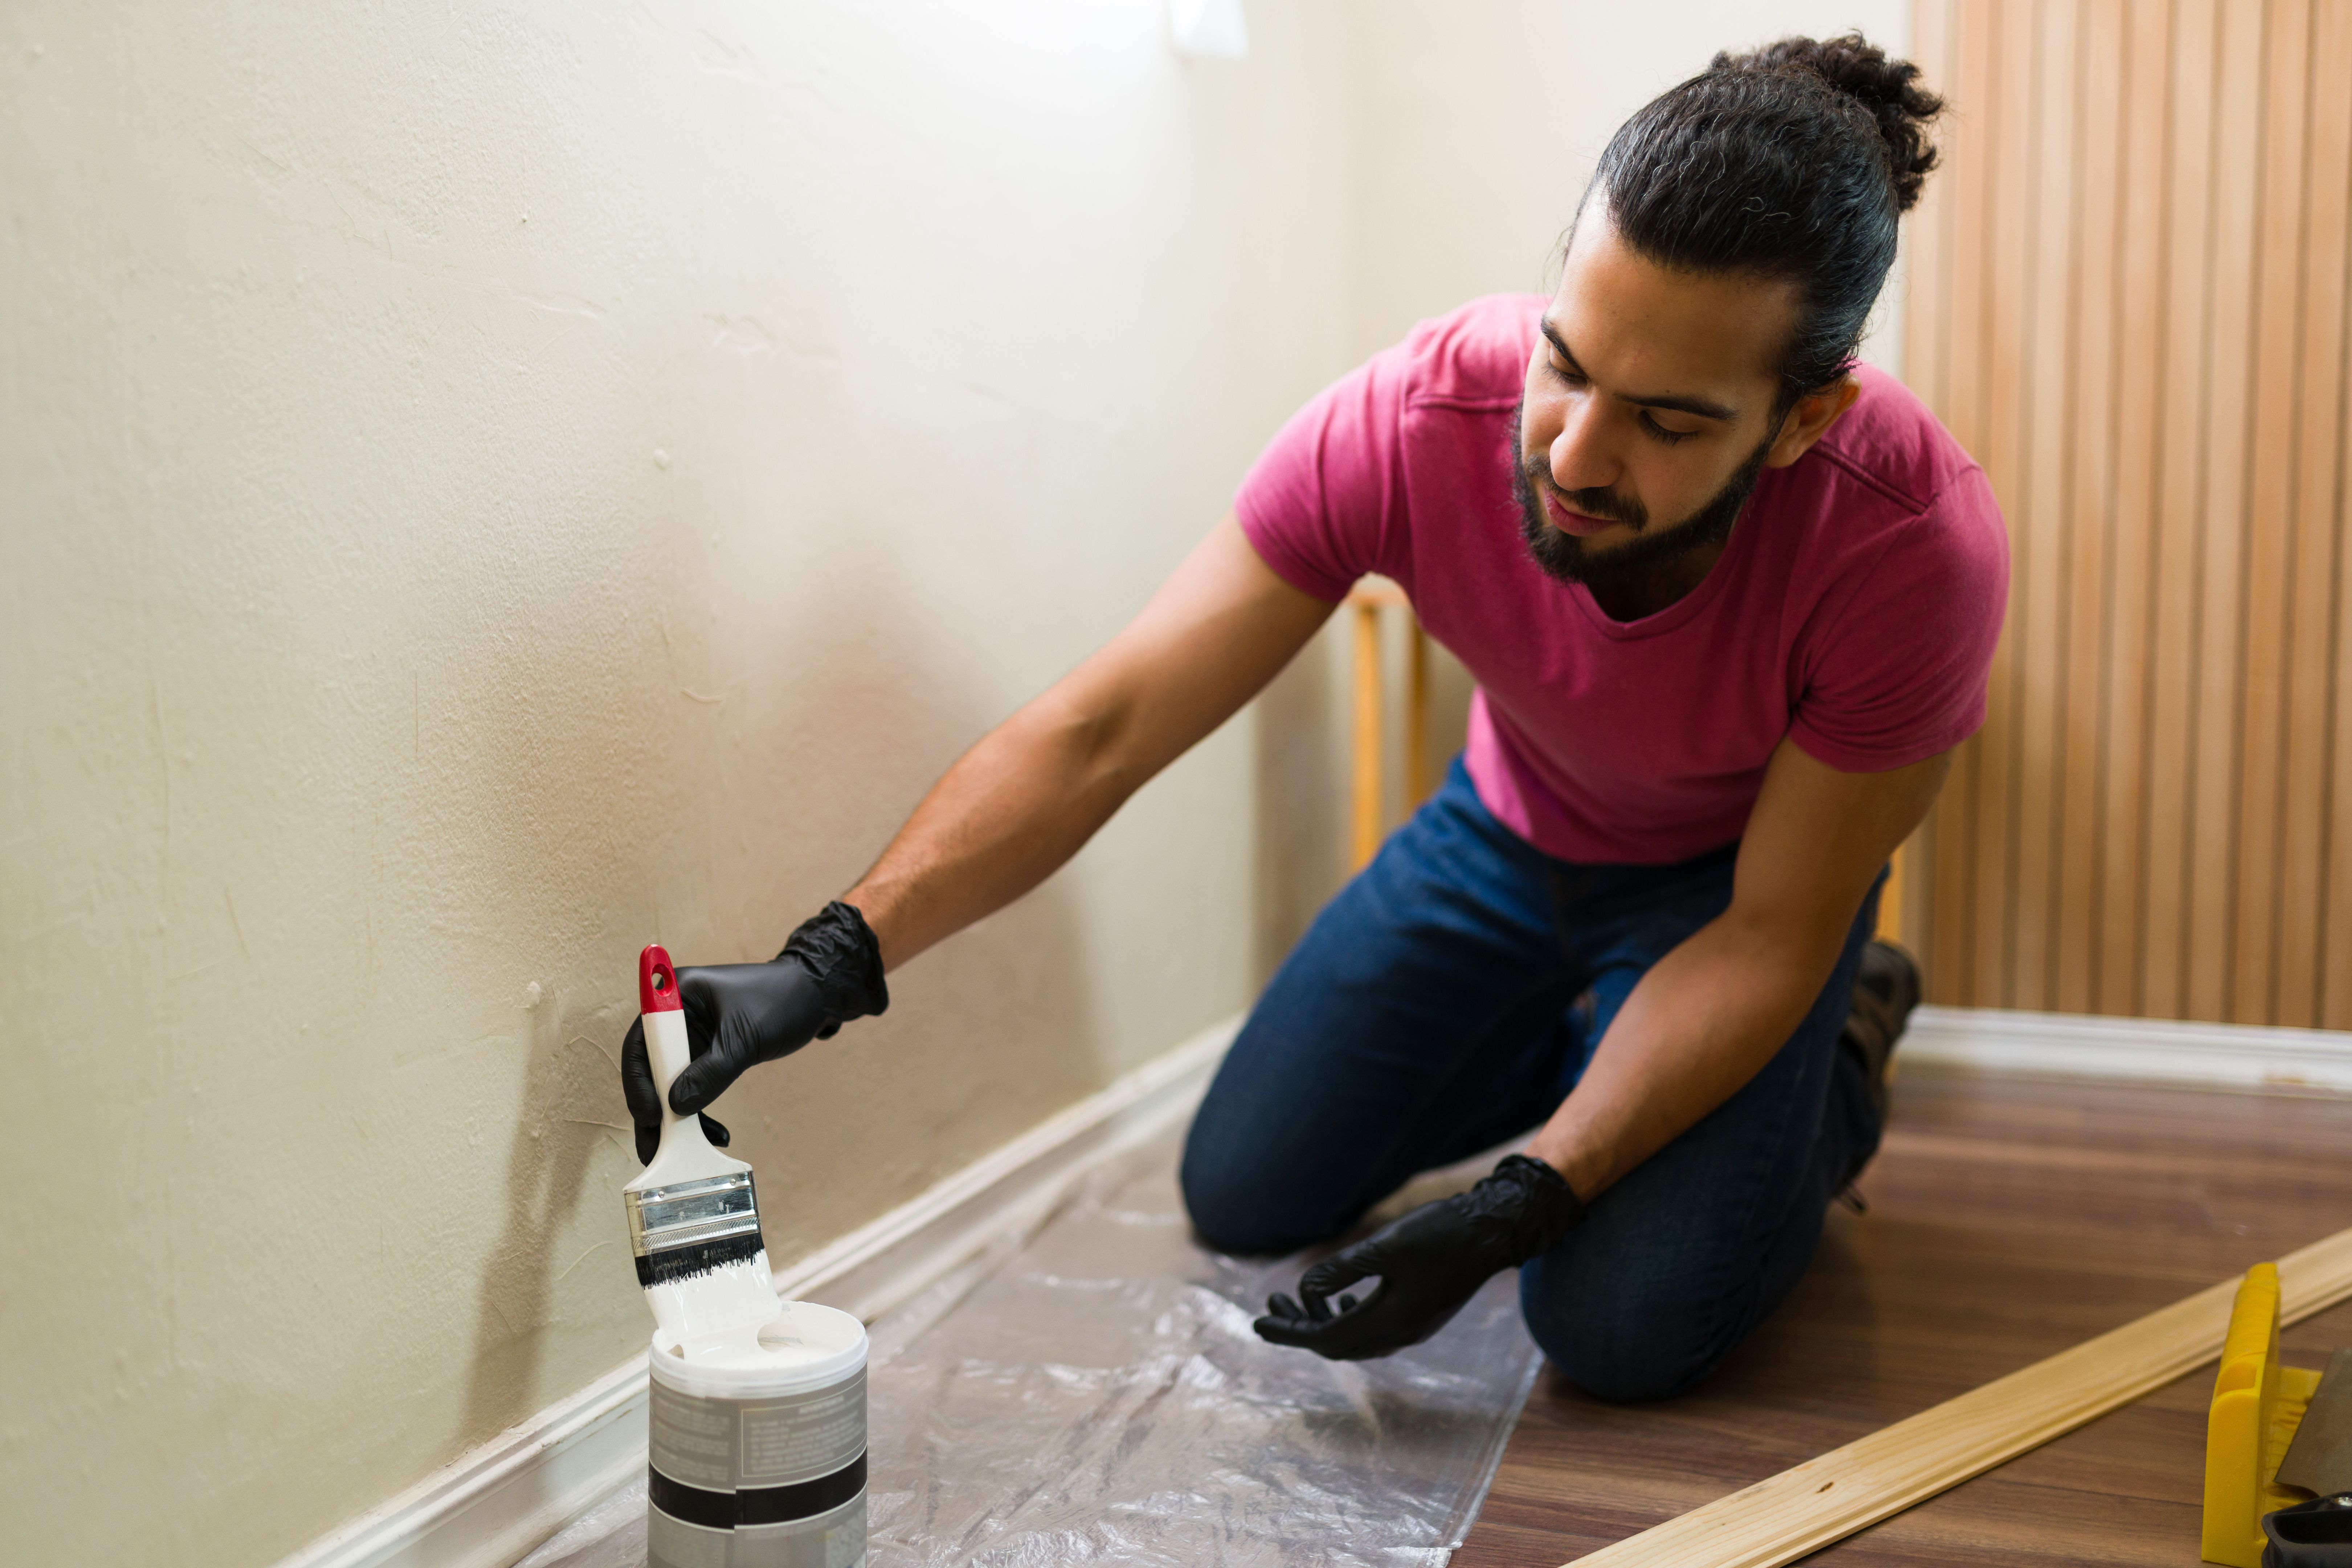
Finishing Touches
Once all planks are installed, remove the spacers and install baseboards or moldings to cover the expansion gaps. This not only provides a finished look but also secures the edges of your flooring. Clean up any debris and admire your newly transformed space!
Maintaining Your Laminate Flooring
To keep your laminate flooring looking new, regularly sweep or vacuum to remove dust and dirt. Use a damp mop for deeper cleaning, avoiding excessive water which can cause damage. With proper care, your laminate floor will remain a beautiful part of your home for years to come.