
Laminate Flooring Installation: A Step-by-Step DIY Guide


Preparing for Installation
Laminate flooring is an excellent choice for homeowners looking to enhance the aesthetic appeal of their interiors while maintaining durability and ease of maintenance. Before diving into the installation process, it's crucial to gather all the necessary tools and materials. You will need a laminate flooring kit, a tape measure, a saw, spacers, a tapping block, and an underlayment.
Begin by acclimating your laminate planks to the room environment. Lay them flat in the room where they will be installed for at least 48 hours. This step helps prevent expansion or contraction after installation due to temperature and humidity changes.
Preparing the Subfloor
Before starting the actual installation, you must prepare the subfloor. Ensure it is clean, dry, and level. Remove any old flooring and fix any protrusions or depressions. A well-prepared subfloor ensures a smooth and professional-looking finish for your laminate flooring.
Install the underlayment next. This layer serves as a moisture barrier and adds cushioning underfoot. Lay it down according to the manufacturer's instructions, ensuring there are no gaps or overlaps.
Installing the First Row
Begin installation by laying the first row of laminate planks against the longest wall in the room. Use spacers to maintain an expansion gap of about 1/4 inch between the planks and the wall. This gap allows for natural expansion and contraction of the flooring over time.
Measure and cut the last plank of the first row to fit, ensuring a snug fit without forcing it into place. Use a saw for precise cuts, which will help maintain the integrity of your flooring.
Laying Subsequent Rows
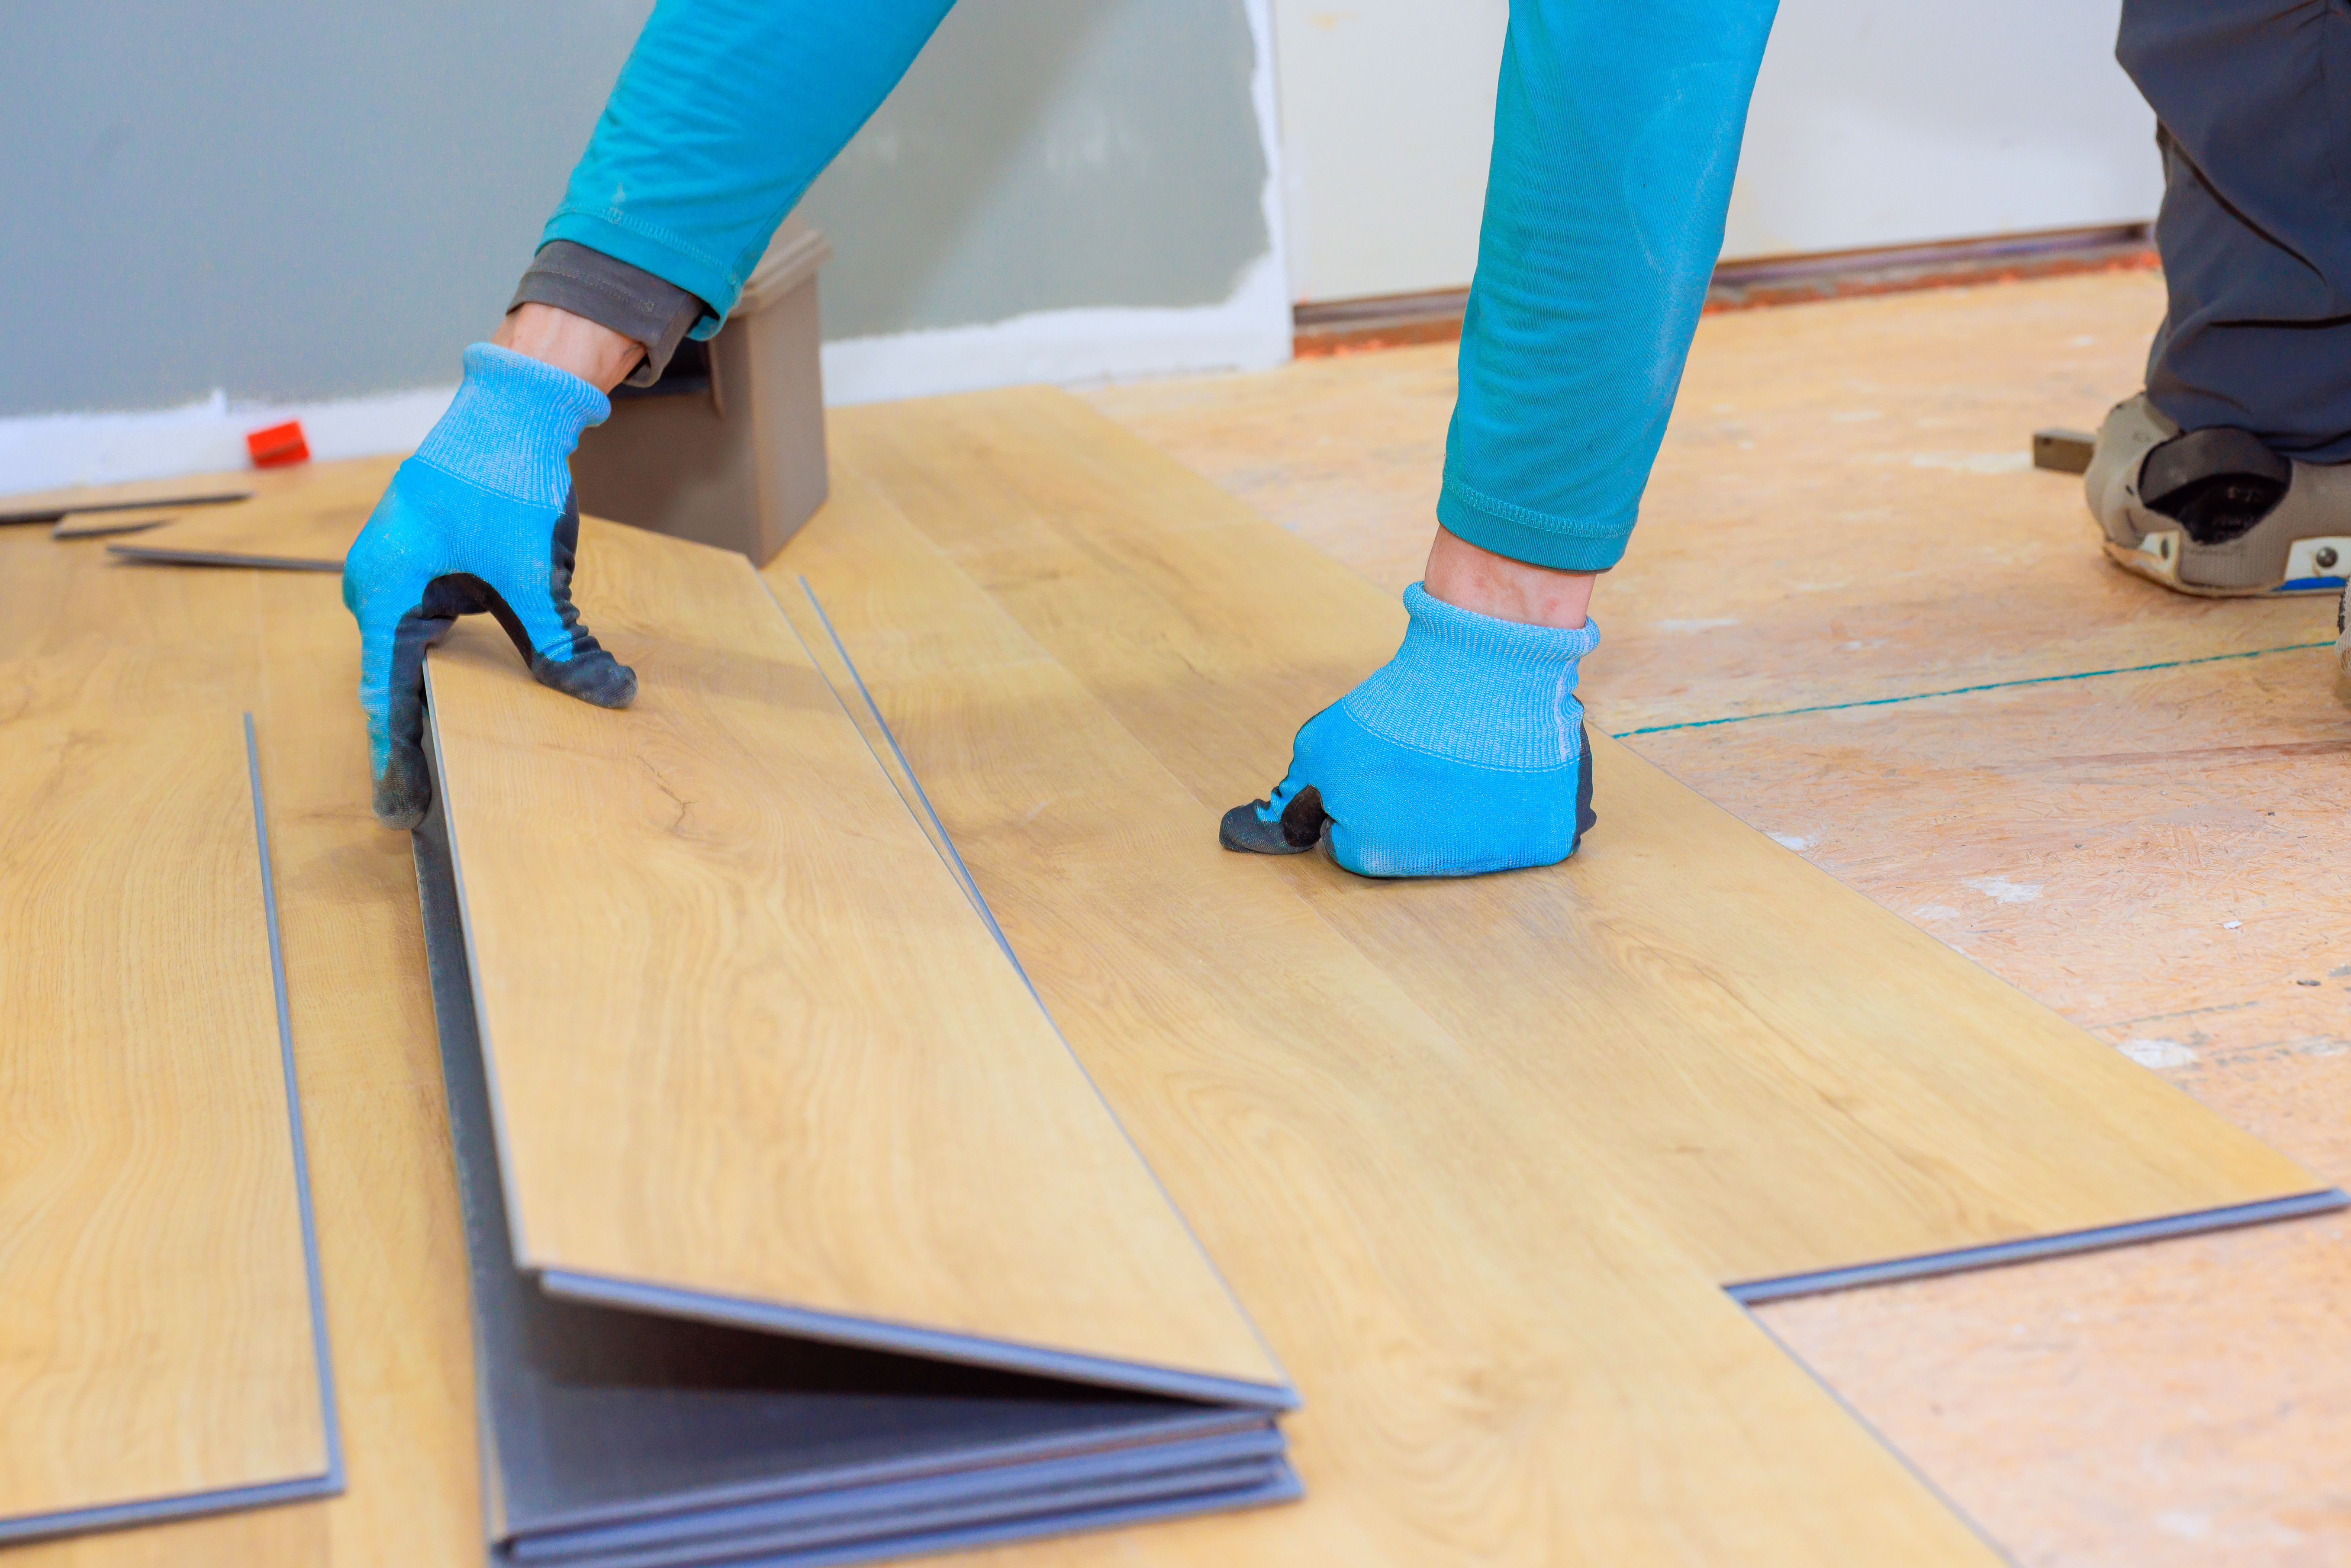
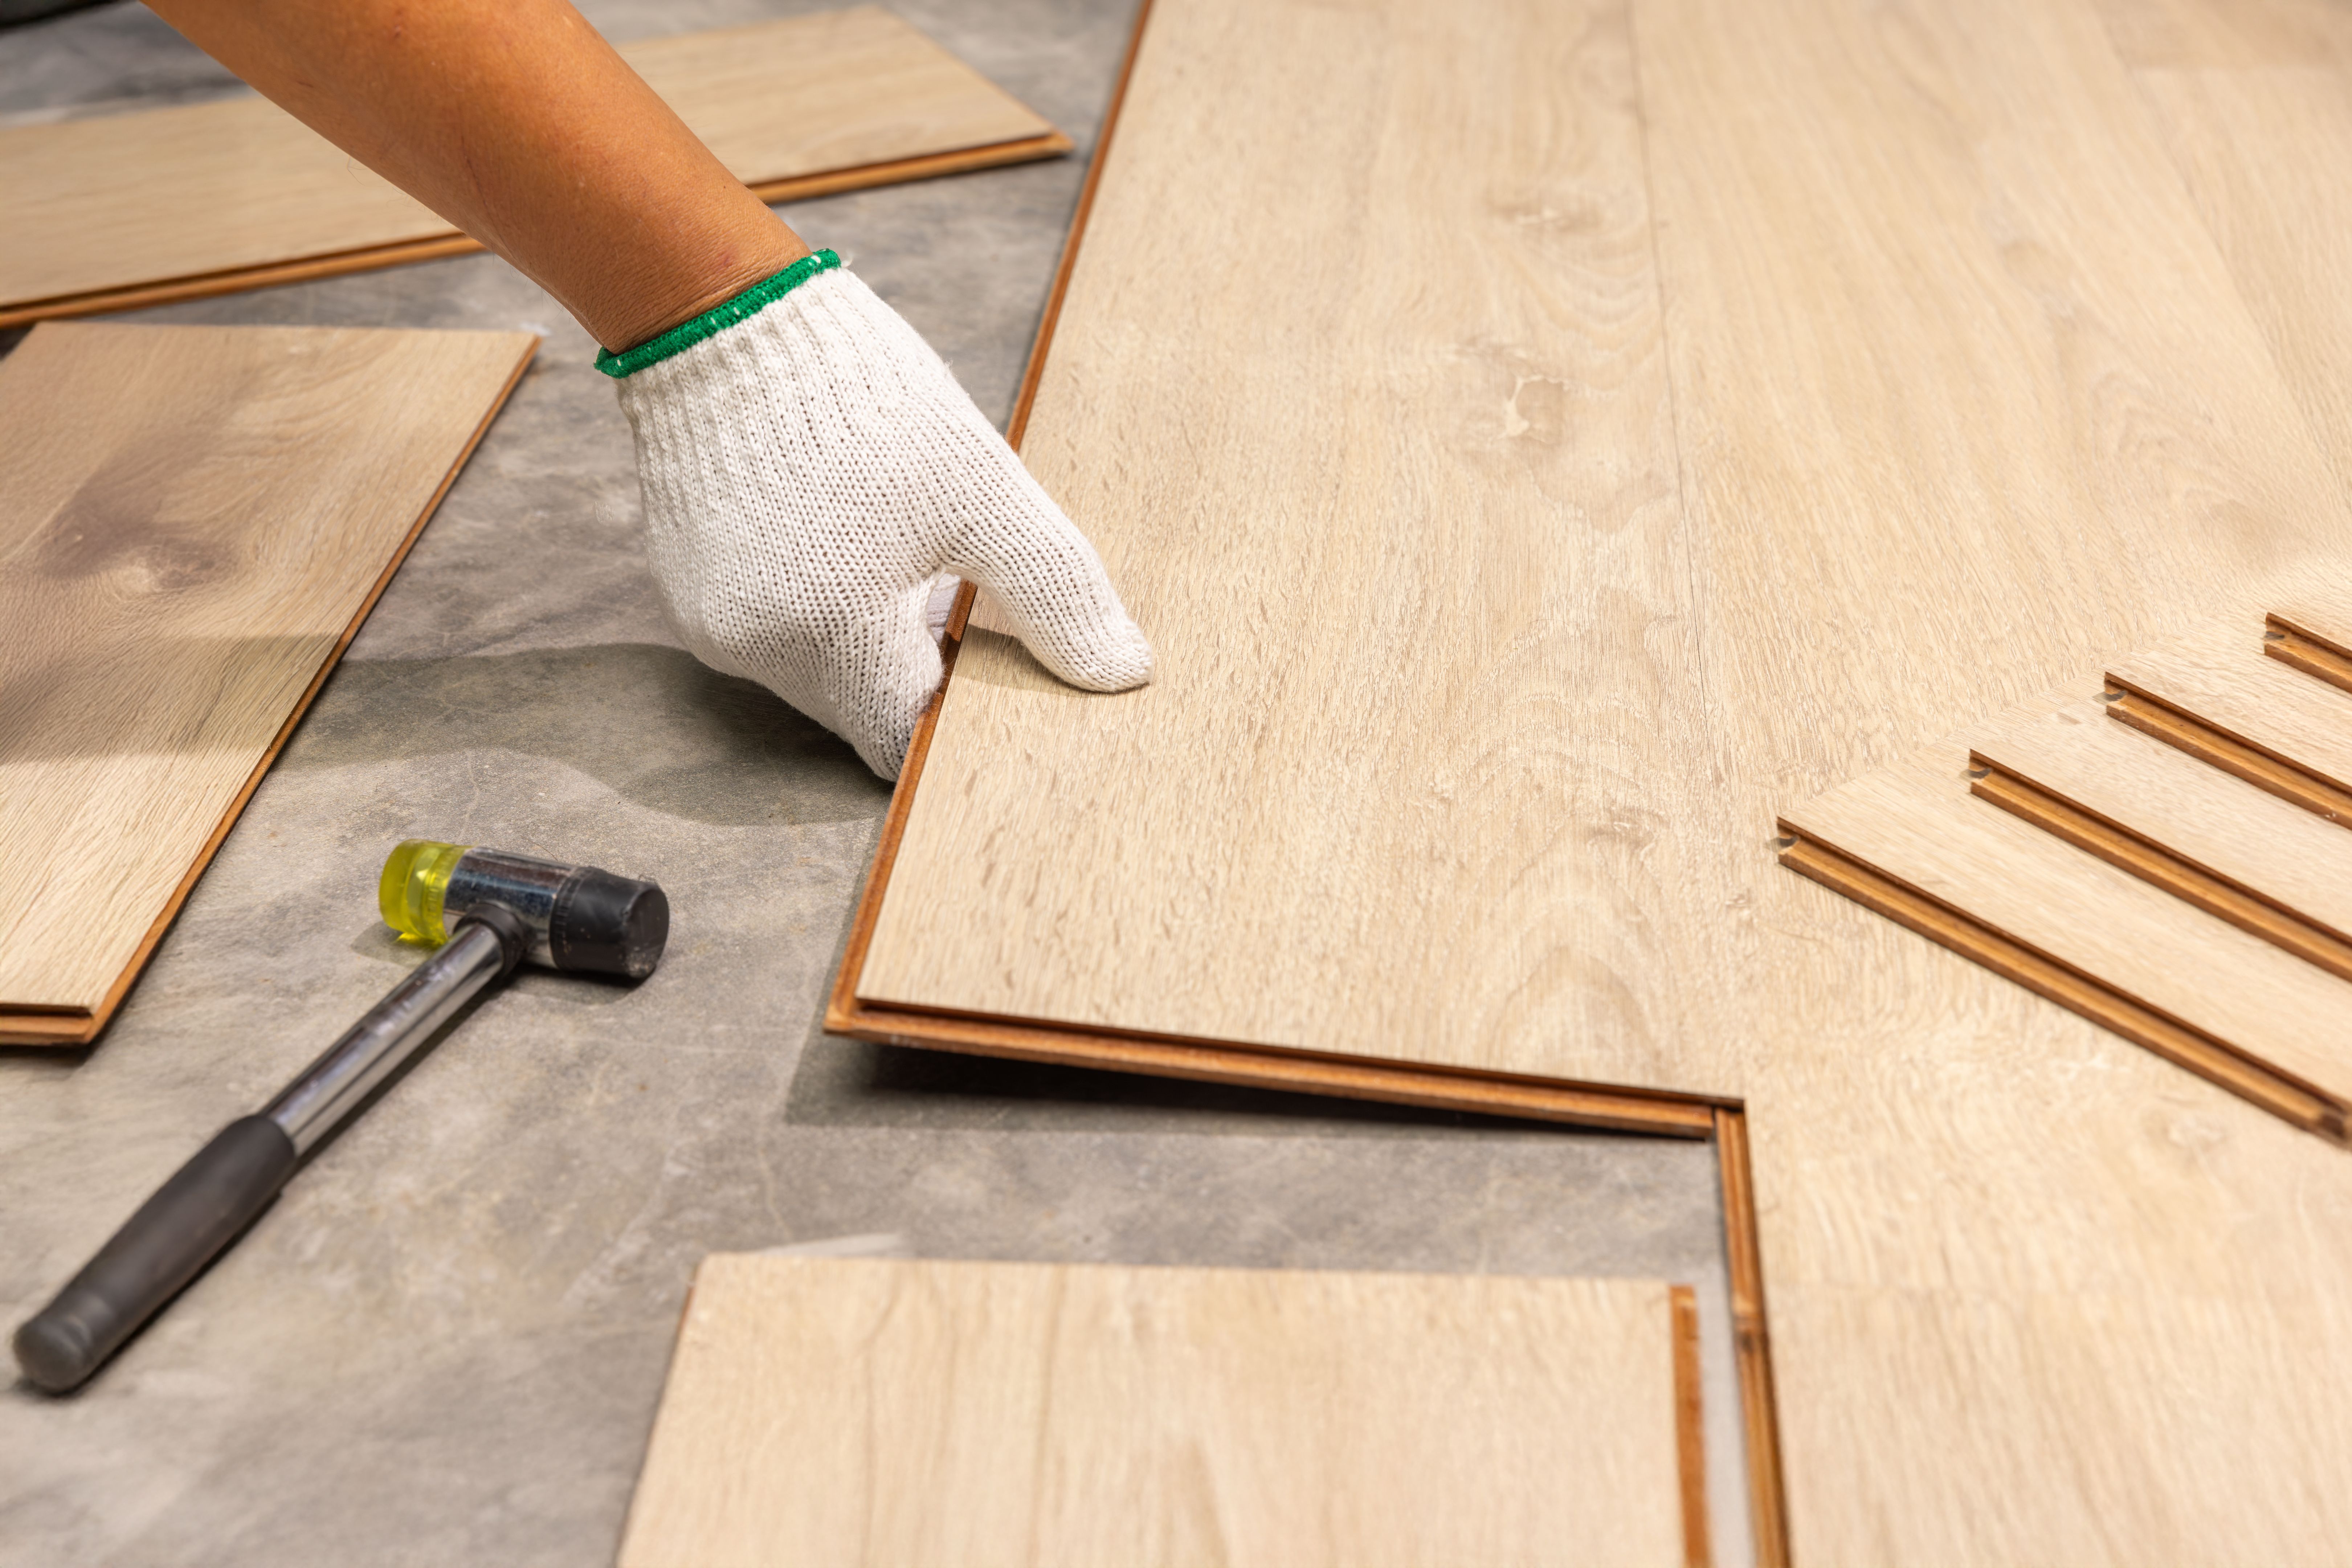
Once the first row is securely in place, continue with subsequent rows. Stagger the joints by cutting the first plank of each row differently to create a natural look. Use a tapping block and mallet to gently tap planks into place without damaging the edges.
Remember to use spacers along the perimeter to maintain consistent expansion gaps. As you progress, periodically check alignment and adjust as needed to ensure straight rows.

Finishing Touches
After laying all planks, remove spacers and install baseboards or moldings to cover expansion gaps around the room's edges. This step not only improves aesthetics but also secures the flooring.
Clean your new floor with a laminate-friendly cleaner and enjoy your transformed space! Regular maintenance will help preserve its beauty and extend its lifespan.
Tips for Success
For a successful DIY laminate flooring installation, remember these tips:
- Double-check measurements before cutting planks.
- Ensure all tools are in good working condition.
- Maintain patience and precision throughout the process.
By following this step-by-step guide and investing time in preparation, you can achieve professional-looking results with your laminate flooring installation project.